
One party.
A few clear next steps.
See how the app keeps the invitation, family replies, and the practical plan together—from the first details to the last thank-you.
Get the appFrom the invitation to the thank-you.
Explore each step in the iPhone app. Open a step to see a sample screen with fictional details. Compare features and planned pricing.
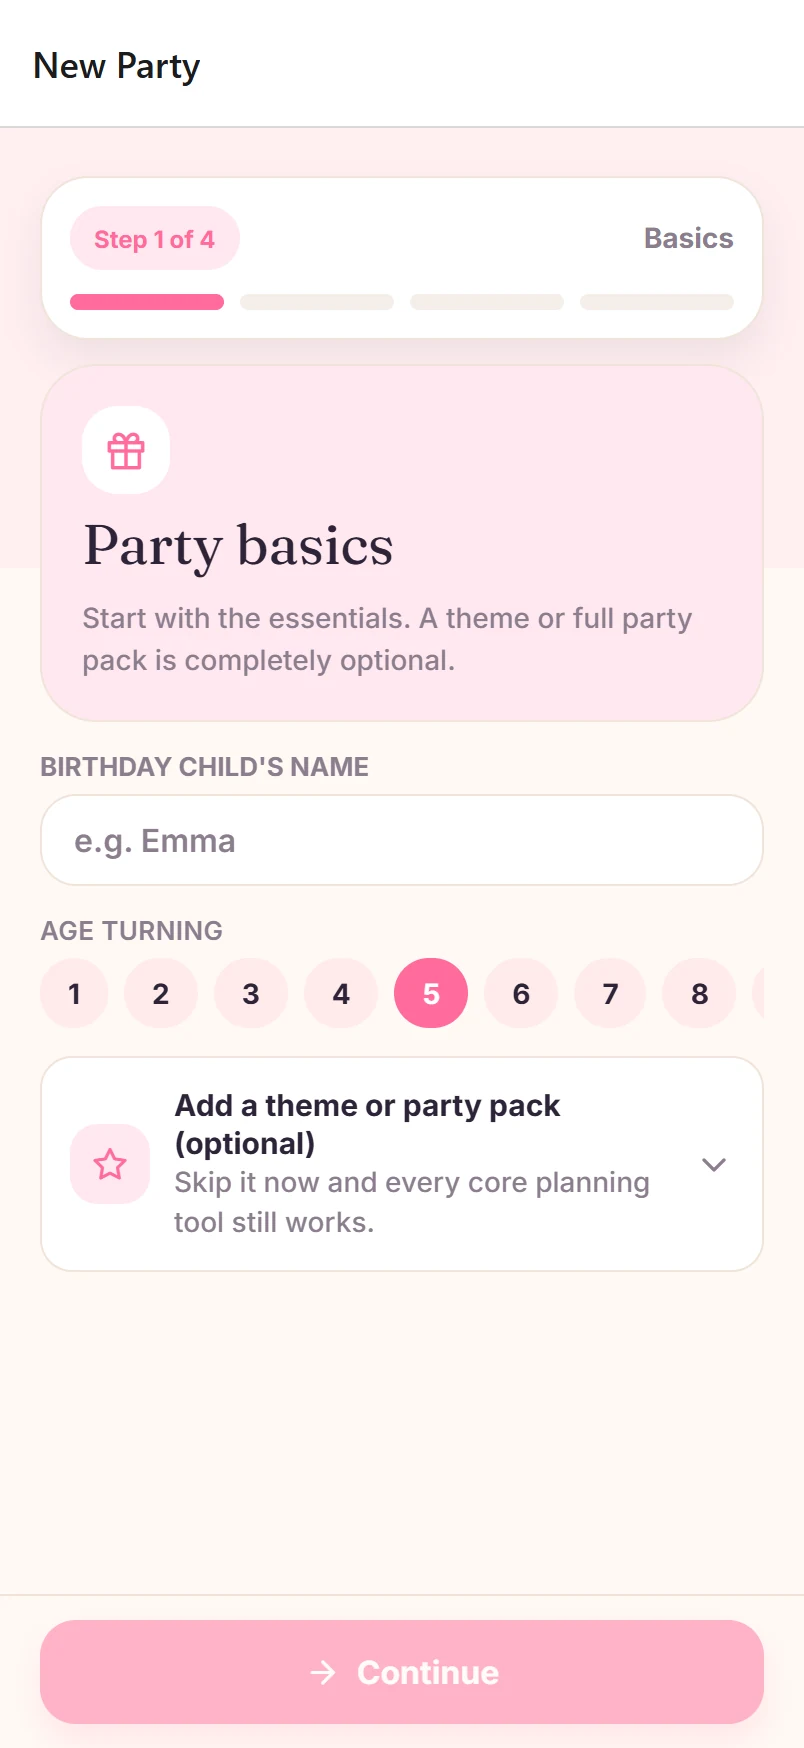
1. Create the party
Add the birthday child's name, age, date, time, theme, location, and the details parents need before they RSVP.
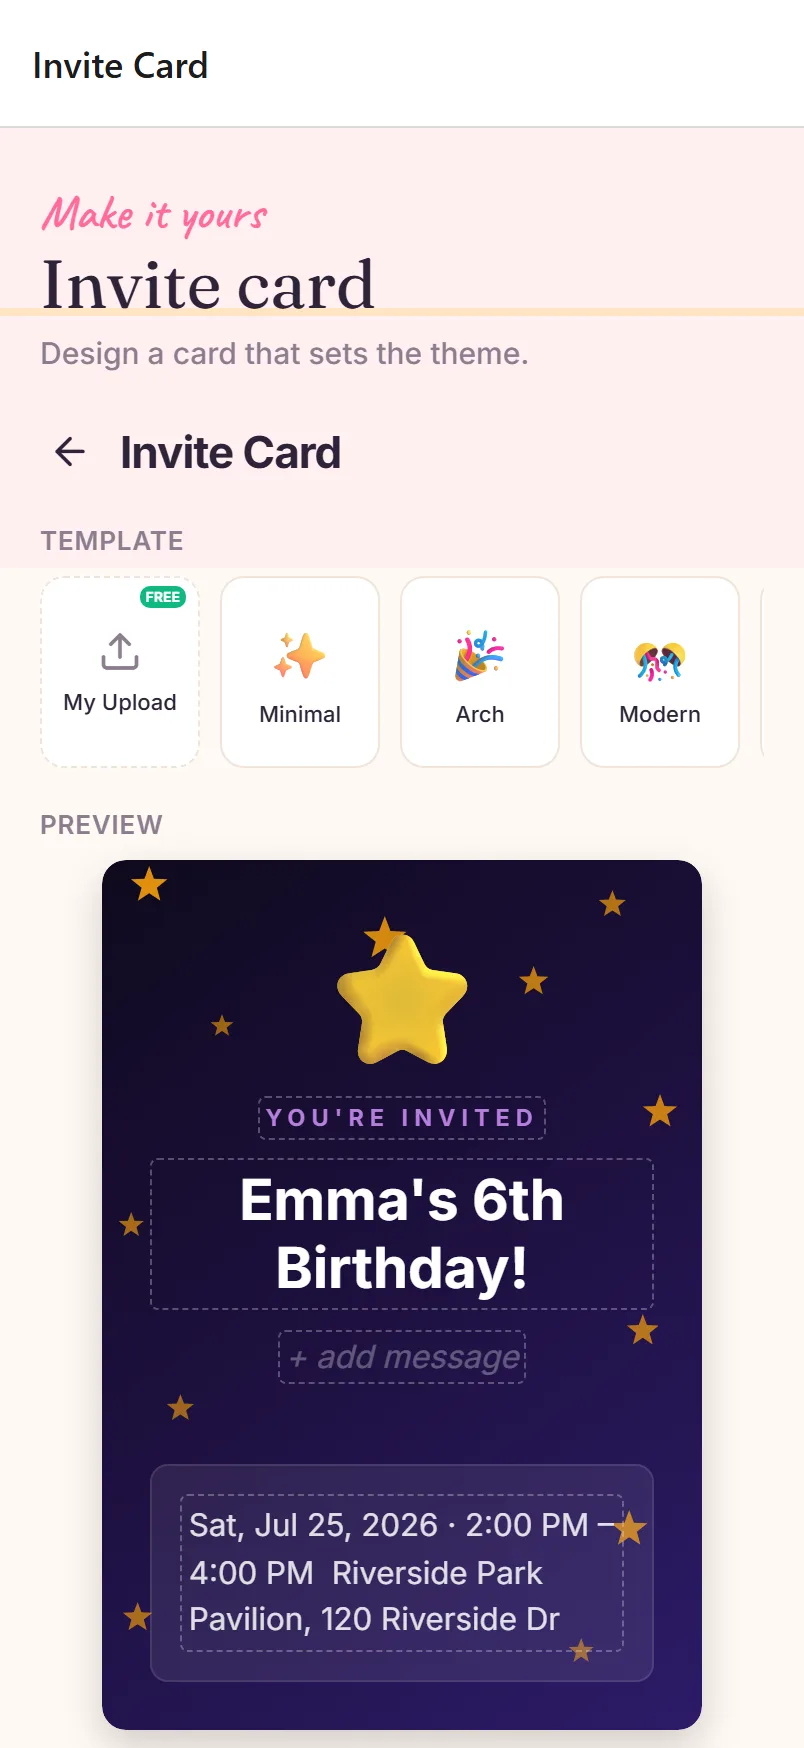
2. Send the invitation
Share the web invitation link with families so guests can answer without installing an app.
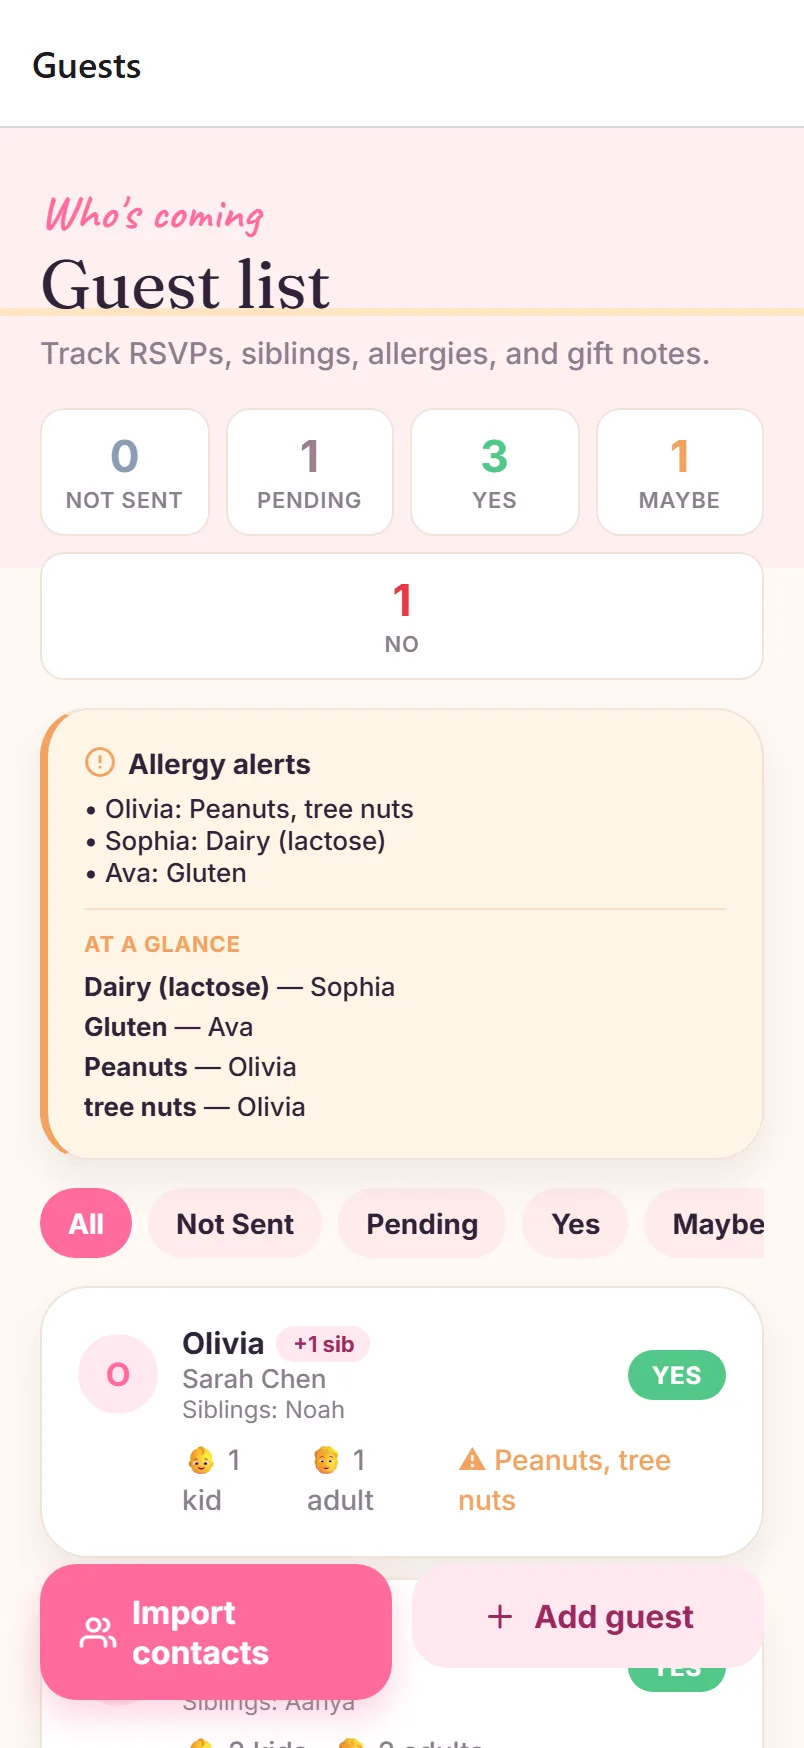
3. Collect real RSVPs
Track yes, no, maybe, sibling counts, allergy notes, and parent-stay details in one place.
4. Use the plan on party day
Use the headcount for food, favors, activity supplies, and venue limits.

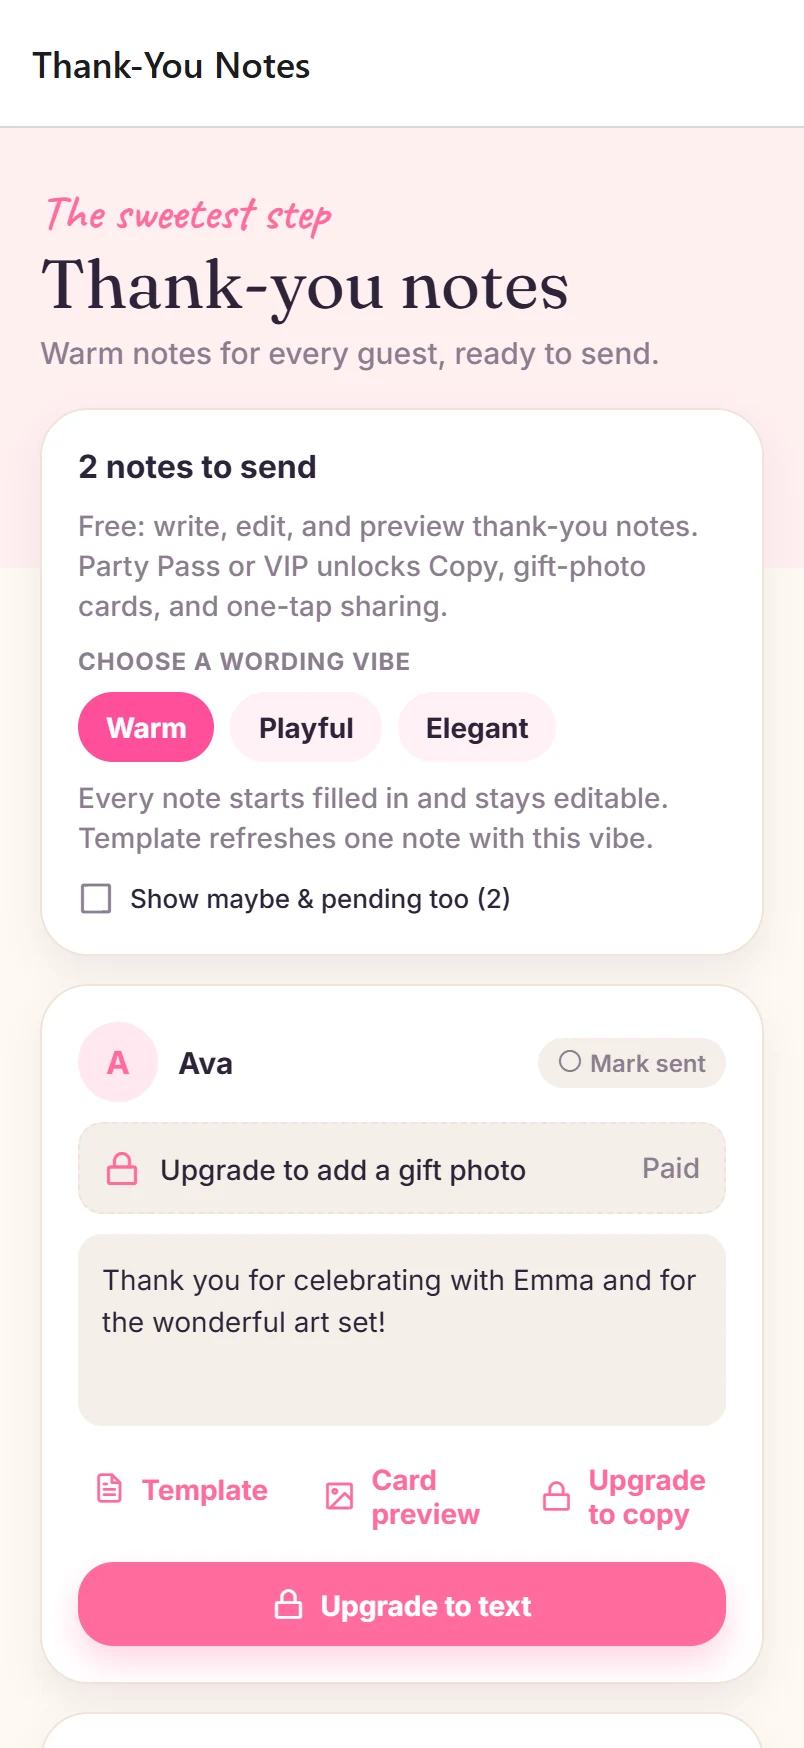
5. Wrap up with thank-yous
Keep gift and guest details close so thank-you notes are easier after cleanup.
Useful help at every stage
Before creating the party, narrow the shape of the day with the planning timeline, browse ideas by age, or explore 26 named Party Packs for activities and food ideas. The matching invitation designs are part of the iPhone app.
When the details are ready, use the invitation wording generator for a draft and the RSVP guide to set a useful deadline and sibling policy. The allergy wording guide helps you ask clearly so families can tell you what they need.
After replies arrive, run the confirmed kid and adult totals through the supply calculator or compare choices with the budget calculator. Those browser tools are planning drafts and do not sync automatically into a saved plan. After the party, keep a note of gifts and use the thank-you generator when you need help starting the final message.
A little less to keep in your head.
Keep the birthday details together in the app, from family replies to the plan for party day.
